

Let's be honest...the reason why a lot of folks avoid smartphone video, or video in general is because all of the technology seems SOOOOOO complicated. I'm with ya there. I love seeing technology in action on my client shoots, but when it comes to getting it up and running, I usually stick with the simple stuff.
So, here are my recommendations for things to use when you're getting started.
1. A tripod:
Your tripod size will vary depending on your setup. If you're using a smartphone, my #1 recommendation (and cheap!) is always a gorillapod. I love these things. Small. Easy to use, and the coolest thing? You can wrap it around anything to create a stable surface. The legs are bendable, and yeah...I might mess with it like a toy from time to time.

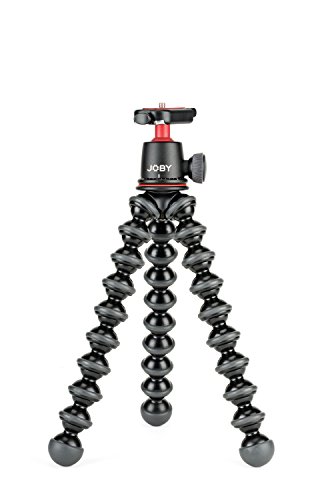
Now, if you're looking for something a little more heavy duty for a DSLR - we all have our favorites. There are Joby tripods hefty enough to hold a DSLR like this one:
But, if you for some reason don't like a tripod that feels like a kickass toy of the future (whatever, you're no fun...ha!) - then, I always recommend manfrotto tripods. And, in all honesty - it's just because I don't have a ton of experience with other ones - so, you use what you know, ya know?
This is the one currently in my bag-o-tricks (and you're gonna drop a lot more money this way, just to warn you):

2. Lighting
When it comes to doing lighting on the cheap...nothing beats natural light from a window. Remember to look at the window, and not have it to your back! But, if it's too harsh and you feel really squinty, just invest in a sheet to tack up. Any flat, cheap sheet in white like this one will do:

But, for some - a window won't always do the trick, especially here in Minnesota - with these short days! If you're looking for a fill light to clip on to your smartphone, I just saw a review that might help you out....I haven't used it myself (yet!) but I've heard great things about the FlII light! It just clips right on, and boom! Plus, it'll only set ya back around 10 bucks. Which is great, right? Oh, and bonus - you can keep it on your phone and it's great for selfies.

If you're looking to take things to the next level - you can purchase a bigger ring light, or...for a nice soft look, purchase a softbox lighting kit with LED lights (they don't get hot, are lighter, and this particular set you can adjust to two different color temps!).

3. Sound/Audio
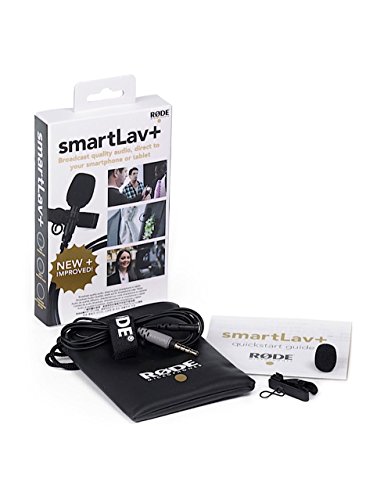
Now, this admittedly is where folks usually get squeamish. I'm the same way. Running audio is my least favorite thing on set...even though (ironically) I started out as a radio/audio major in college. Weird. I've heard absolutely AMAZING things about the rode smartlav+ mic - but, keep in mind you mind need to get the extension cord they sell with it.
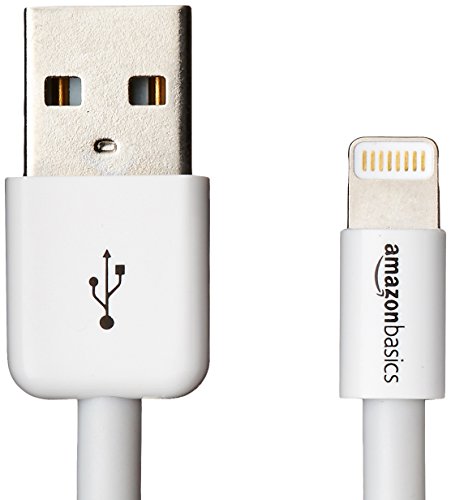
But, what if you don't have a spot to plug in the mic to your iphone (those fancy new gadgets!)? Hmmmmm....well, if you're using any kind of USB microphone that you might already have for podcasting - then, it's simple. You just need a USB to lightning cable like this:
Buuuuuut, what if you don't already have a USB mic, and want to get some sound into a phone without a headphone jack? Then you're gonna want to try one of these little headphone jack to lightning adapters:

4. Fun extras!
Ok, so...you've got some basics down. Now, what about the fun extras? Well, those all depend on your budget. I've actually had a few shoots recently where my director of photography has brought along a little Osmo handhead camera. Those run you about $400+ bucks, though. But, have gorgeous output!

Can't swing that much money? Then, for around 100 bucks, check out this non DJI gimbal that you can simply hook your smarphone into, for cool shots with movement, etc...

5. Boring but necessary
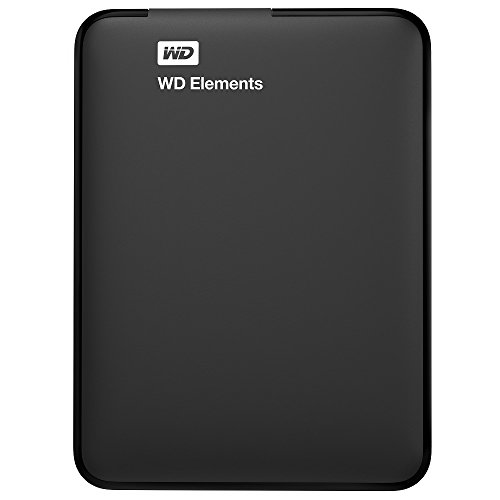
As always, when you're shooting - BACK UP YOUR STUFF. My choice lately for an external hard drive is this little cutie:
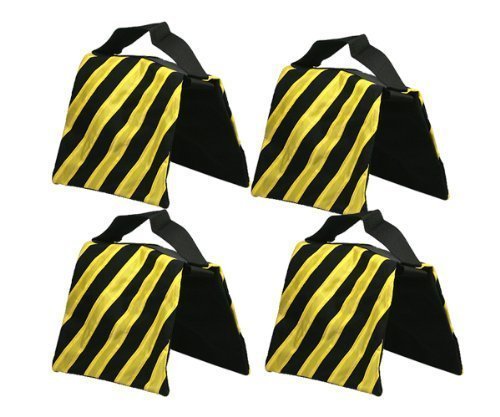
For your lighting, in order to stay safe...you're gonna need sandbags. I swear, being on set with video production in Minnesota - there are never enough of these bad boys (insert some lame joke about sand being used on the snowy roads, right? lol) The reason you need sandbags is because cheap (ish) lighting stands don't have a lot of weight to them, and tip over very easily. If you're blogging at home with kids, or around busy adults - tossing a sandbag on each leg of your light is a great idea. Don't want to have any lawsuits, right? Eeeeeek.
So, there ya have it. A little wishlist for your small biz, office, or personal blog if you're just getting started with video - whether it's with a smartphone or DSLR camera. Above all, remember that research is key. There are tons of reviews out on youtube, and plenty of information out there. I can't wait to see the videos everyone starts to make! Take care, and keep puking rainbows!
Erica
-----
Can't find exactly what you need, at the right budget? Use my link to find what you're looking for:
Oh, and yes, Puke Rainbows is a participant in the Amazon Services LLC Associates Program, an affiliate advertising program designed to provide a means for us to earn fees by linking to Amazon.com and affiliated sites. (buuuuut, I don't recommend anything I don't stand behind - these were all on my list, and happen to be sold on Amazon - if you can find them somewhere else, go for it -I don't blame ya!) Stay awesome.